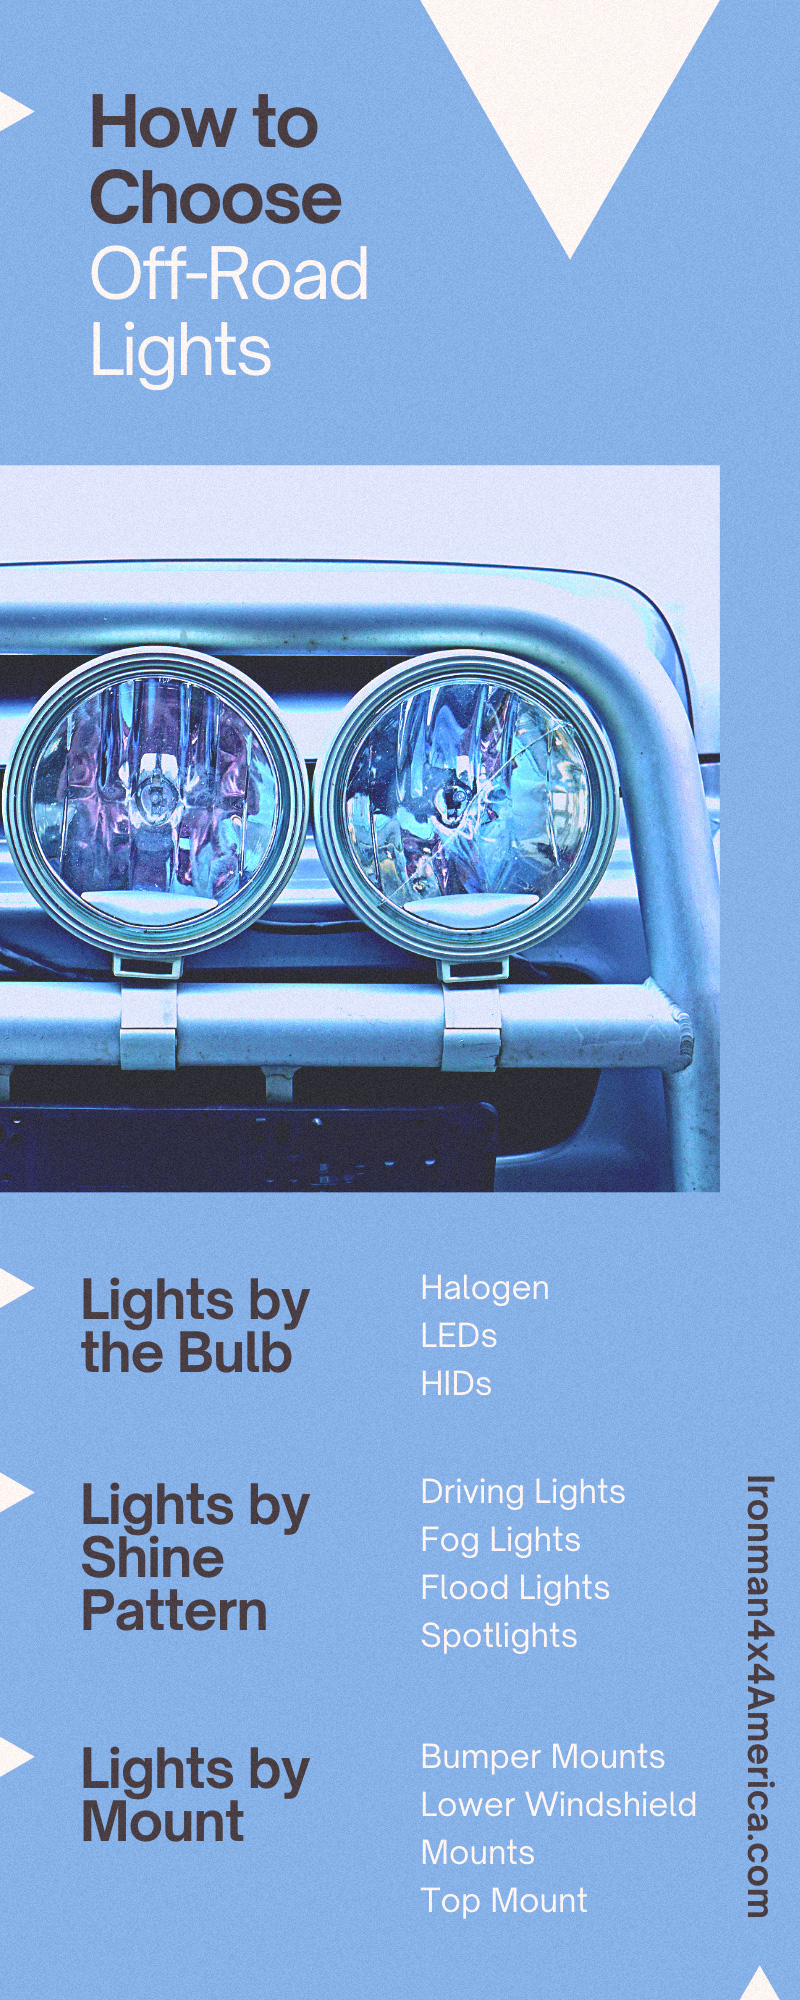
The Ultimate Buyer’s Guide: How To Choose Off-Road Lights
What is the first step to overcoming an obstacle in your 4x4? Your thoughts may be, “Level up my wheels so I can roll over it” or “Correct my suspension so I can handle turning around it.” Both are necessary, but neither is the first step.
The first step is seeing that there’s an obstacle at all. And when you’re off-roading, there is no end to the things that can get in the way of seeing what’s in front of you. That’s why when you’re putting together a list of upgrades for your rig, lights should be on it. That’s why we have the ultimate buyer’s guide for how to choose off-road lights.
Lights by the Bulb
When you go to choose light bulbs for your house, you typically have three basic types to choose from, and the same is true of your 4x4. All three types will get the job done, but each will offer you and your rig something different.
Halogen
Halogen bulbs are the car equivalent of an incandescent bulb. They’re the original players in the headlight world and are still one of the most common types of lights today—they’re cheap to buy, simple to replace, and functional in the dark, rain, or fog.
But the low price tag comes with its own costs. Though reasonably durable, they’re on the shorter side as far as lifespan goes among headlights. They also take a lot more energy to produce the same amount of light other headlights can.
LEDs
Light-emitting diode (LED) lights are taking the lighting world by storm, and for good reason. LEDs are capable of producing a far brighter light than halogen bulbs without using nearly as much power. On top of that, they’re more capable of focusing into different shapes, allowing them to be used in a wider variety of ways.
The only drawback of LED lighting is its complex relationship with heat. This type of lighting typically comes equipped with a cooling system that helps keep surrounding materials like wiring from overheating. Installing this type of lighting in your vehicle’s hot engine bay is a hurdle to leap over but well worth the cost.
HIDs
New to the headlight game are high-intensity discharge (HID) bulbs, also known as xenon bulbs. Without a doubt, these headlights are the brightest on the market and come in the widest range of colors. This is great from both an aesthetic and practical point of view because it allows you to choose colors that are good for fog or other conditions.
However, the brightness is both a blessing and a curse for HID bulbs—a blessing because you’ll have fantastic visibility on the trails and a curse because the people you drive behind on the roads will be cursing your name for burning their retinas. They also have the heftiest price tag of all the bulb types.
Lights by Shine Pattern
The best way to visualize shine pattern is to picture a hose with a nozzle attachment on the end. As you adjust the nozzle, it might go straight forward in a powerful, far-reaching blast, or it may give a wider, less concentrated spray. Different patterns are valuable depending on your goal and terrain.
When it comes to headlights, keep in mind these different shine patterns and when to use them:
- Driving Lights: A similar range to normal headlights with more intensity
- Fog Lights: Focus on illuminating a wide area in such a way that it doesn’t catch fog or rain
- Flood Lights: Illuminate a wide path with greater intensity than fog lights
- Spotlights: Shine an intensely bright light in a small, concentrated area
While some lights—driving lights, for instance—can be mounted anywhere, others work better when mounted to one part of the car than another.
Lights by Mount
Because off-roading requires a wider field of vision, it makes sense that off-road vehicles often need lights mounted to more places than just the front of the hood. Here are a few of your options as far as where to place extra headlights.
Bumper Mounts
As the name suggests, bumper mounts attach to the front of your vehicle’s bumper. The goal here is to maximize the visibility you’re already getting from your normal headlights, making it the ideal place for fog lights. Since this is one of the simplest mounts as far as installation goes, there is really nothing to lose by adding these to your 4x4.
If you want a more intensive project, you can try mounting lights to the back bumper. It’s tricky to do and pricier than a front mount, but it has its benefits. If your rig gets stuck and you’re trying to back out, having those rear lights is a lifesaver.
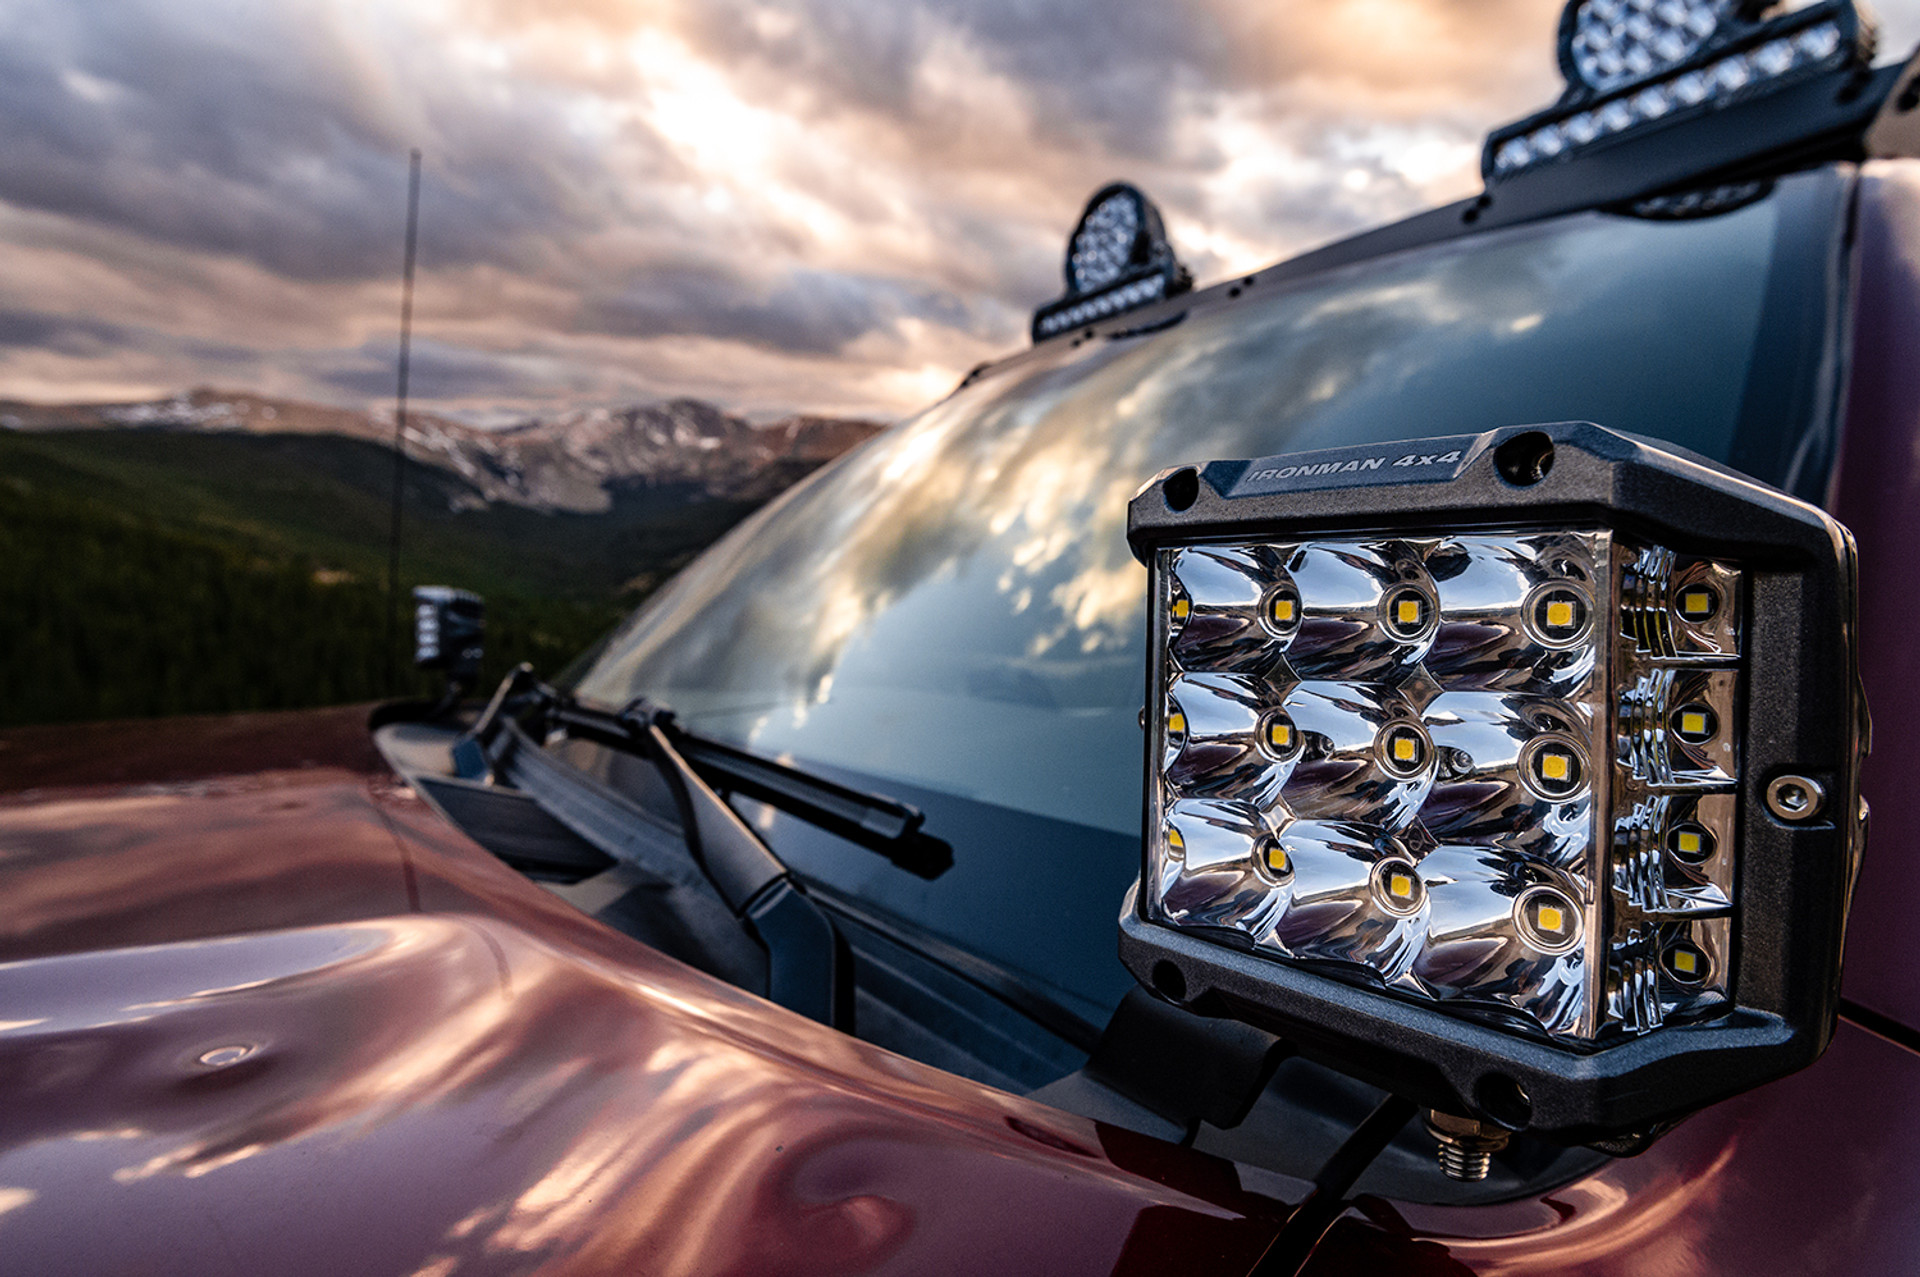
Lower Windshield Mounts
The one problem with front bumper mounts is that they don’t expand your field of vision much. That’s why many off-roaders choose to mount lights a little higher up on their vehicles. These lights fill this role well by mounting to the bottom of your car’s windshield.
There are a few advantages to this location. Pointed forward, they allow you to see even further down the trail. Angled outward, they help you see obstacles to the right and left of the path, such as deer about to race in front of your car. Just be cautious about the shine pattern you use. Anything other than a spotlight may cause a glare.
Top Mount
Mounting lights to the top of the vehicle is like having your own personal lighthouse attached to your car. It gives you the furthest visibility both for distance and width across the path. This makes it a good choice for mounting floodlights.
The one caveat is that this is one of the more labor-intensive places to mount your headlights. It also gives you a few inches as far as height goes, which can make clearance difficult.
Note on Individual Lights vs. Bars
One of the big debates as far as off-road lighting goes is individual driving lights vs. light bars. Both are effective and have their benefits. Bars will usually give you a wider scope, while individual lights offer greater distance. Bars also tend to work higher, while individual lights work either way.
When you hit the trail, you want to do it with your eyes wide open. You provide the eyes; we’ll provide the off-road driving lights to illuminate your trail and the expertise to help you choose the off-road lights to fit your vehicle.


